Physical Address
304 North Cardinal St.
Dorchester Center, MA 02124
Physical Address
304 North Cardinal St.
Dorchester Center, MA 02124
Helpful ideas. Squeaky value.
Helpful ideas. Squeaky value.

Good drag and drop interactions start with planning, not building. I get a lot of questions about how to build them. The mechanics aren’t complicated. But a few design decisions made upfront will save you a lot of rework later.
There are a few reasons to make an object draggable, and each one works differently in your authoring tool.
Most drag and drop problems come from decisions that weren’t made before building started.
Most drag and drop interactions need a drop target. That target can be a visible shape on screen or an invisible hotspot. Decide which you’re using before you build. If the target isn’t clear from the design, add visible markers so users know where to aim.
Snapping pulls a dragged item to the correct spot when the user gets close enough. It makes the interaction feel more forgiving and is worth adding in most cases. The alternative is a strict drop zone where the user has to be precise.

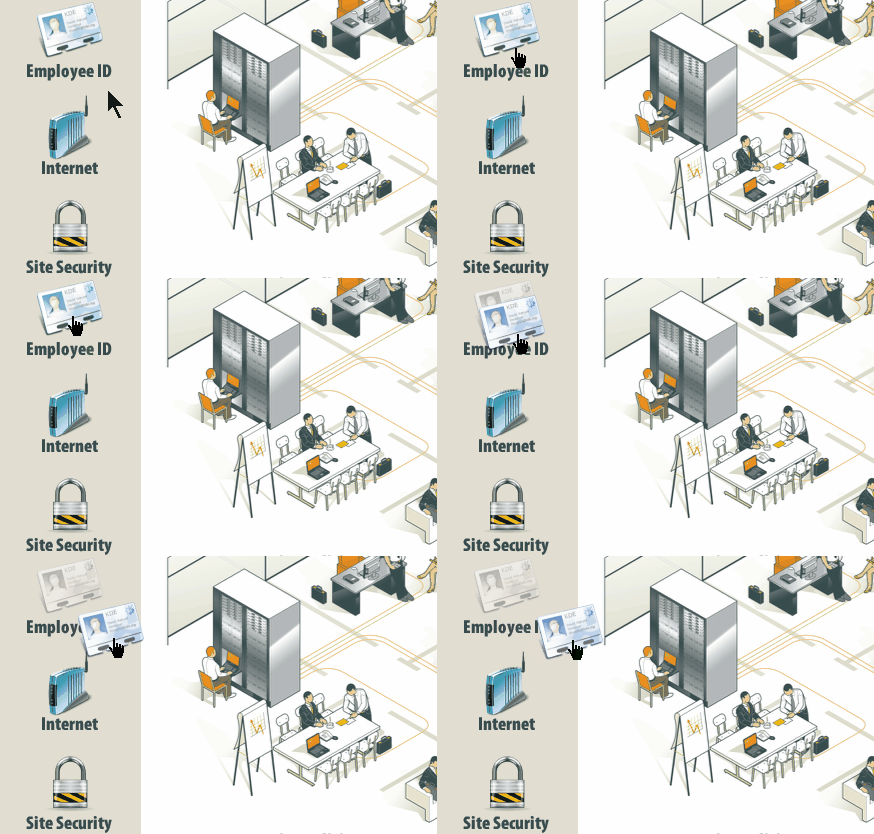
Think about what happens to the original object when it’s picked up. Adding a ghost image to mark where the dragged item started helps users track their progress. It also makes it easier to recover if they place something in the wrong spot.
This image shows a ghosted target.
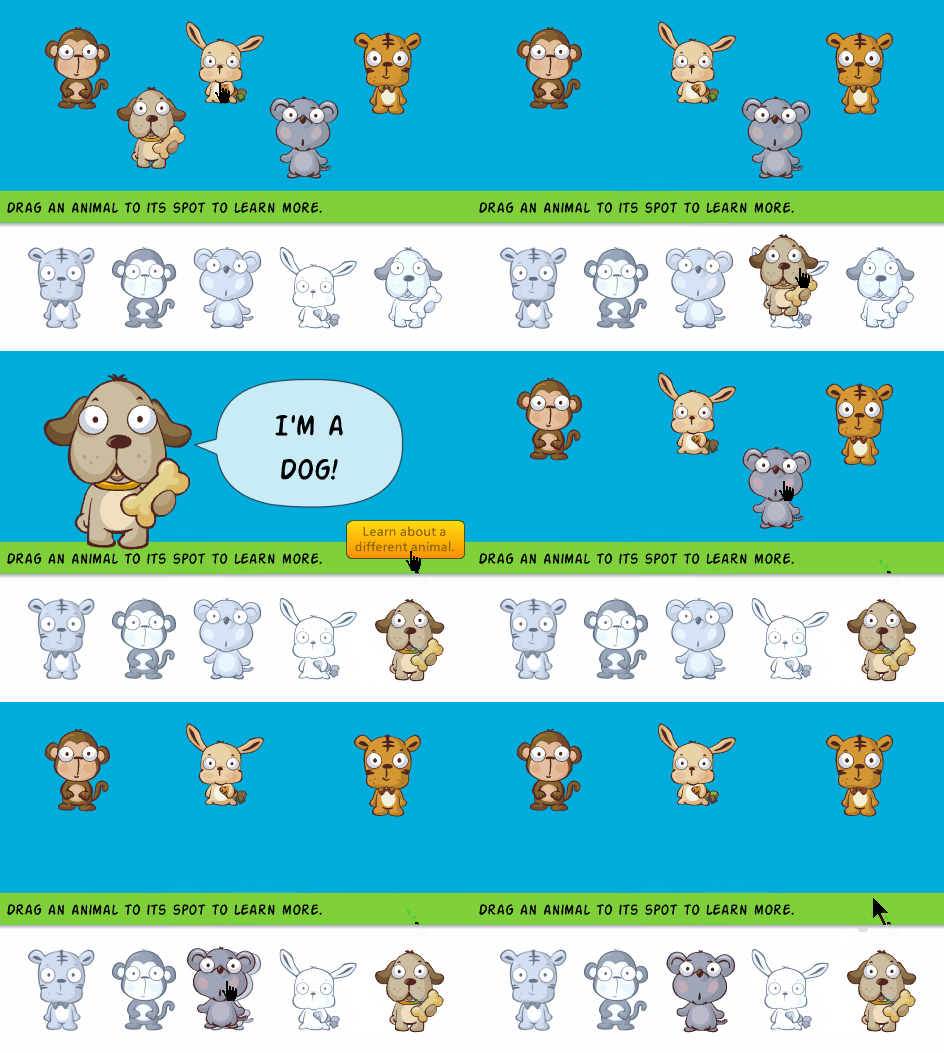
And this image shows a ghosted starting point.
Drag and drop is still an unusual interaction pattern for many learners. If you expect users to interact with the screen in a new way, tell them what to do. A gate screen or modal that stops the user before the activity and explains the interaction is one clean solution. Don’t assume users will figure it out on their own.
Feedback is what makes a drag and drop interaction feel complete. Without it, users can’t tell if they got it right. There are three common ways to handle this.
The simplest approach is to let the target accept the object. When the user drops it on the right spot, the item snaps into place. That snap is its own form of confirmation. Depending on how you set up the interaction, it can also trigger a feedback layer.
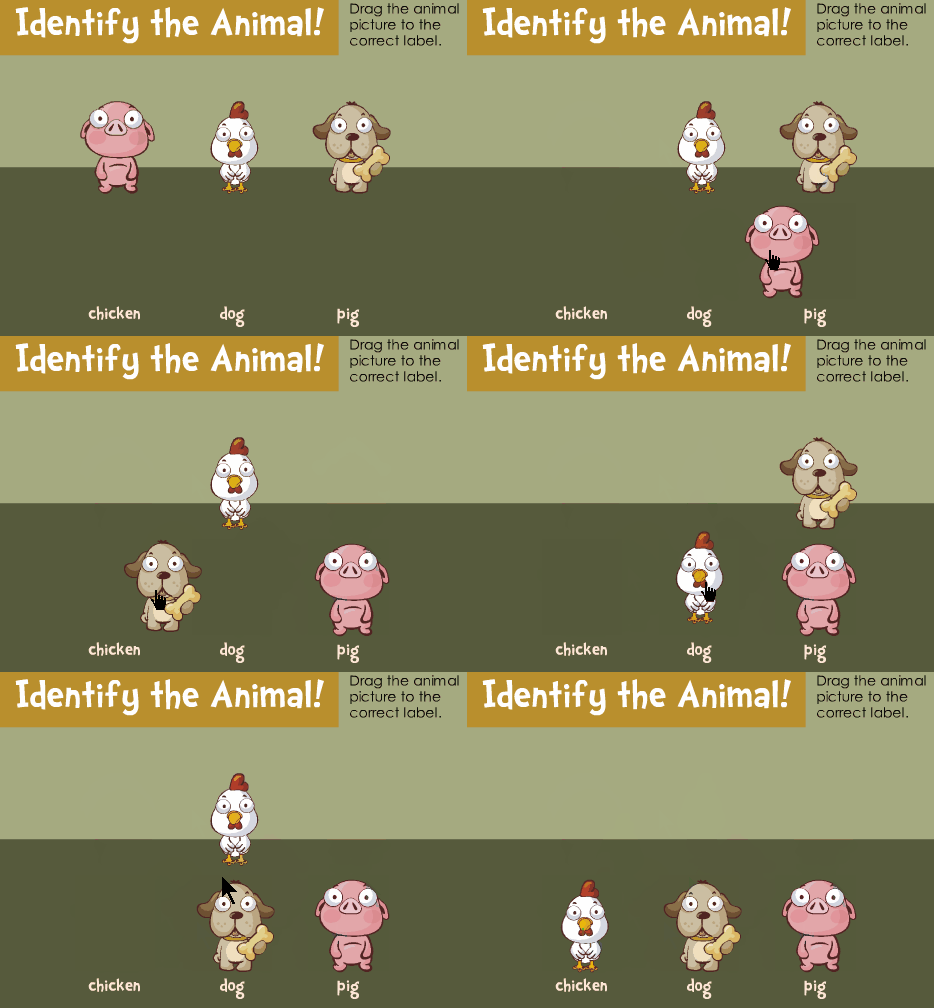
Another approach is to reject incorrect drops and return the object to its starting position. This gives immediate feedback without any extra visual design work. The user tries again with no ambiguity about what happened.
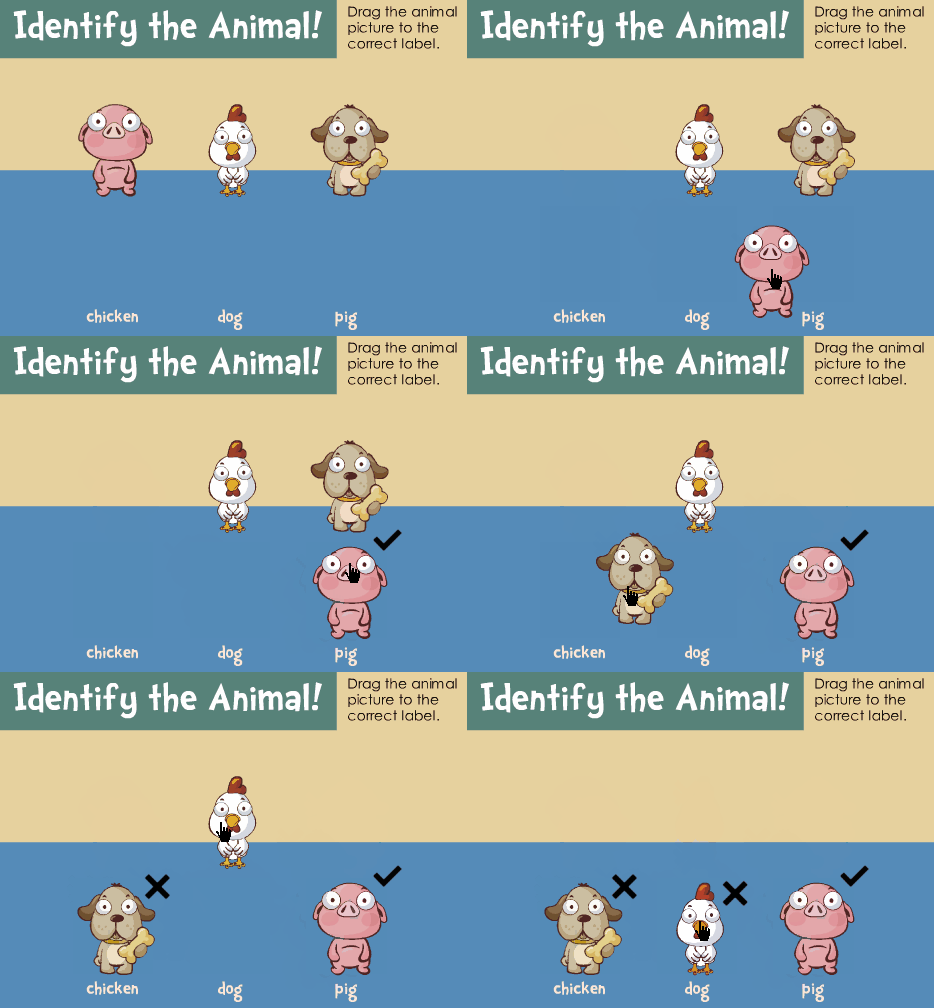
You can also change the state of the object itself when it’s dropped. Show a green border for a correct drop or a red one for incorrect. State changes give you a lot of flexibility because the feedback is built into the object, not a separate layer.
Drag and drop interactions are one of the best ways to add engagement to a course without making it harder to build. Start by knowing which type you’re building: slider, freeform, or target. Then decide your snap behavior, how targets will be marked, and how you’ll give feedback. Test the finished interaction with someone who didn’t build it.