Physical Address
304 North Cardinal St.
Dorchester Center, MA 02124
Physical Address
304 North Cardinal St.
Dorchester Center, MA 02124
Helpful ideas. Squeaky value.
Helpful ideas. Squeaky value.
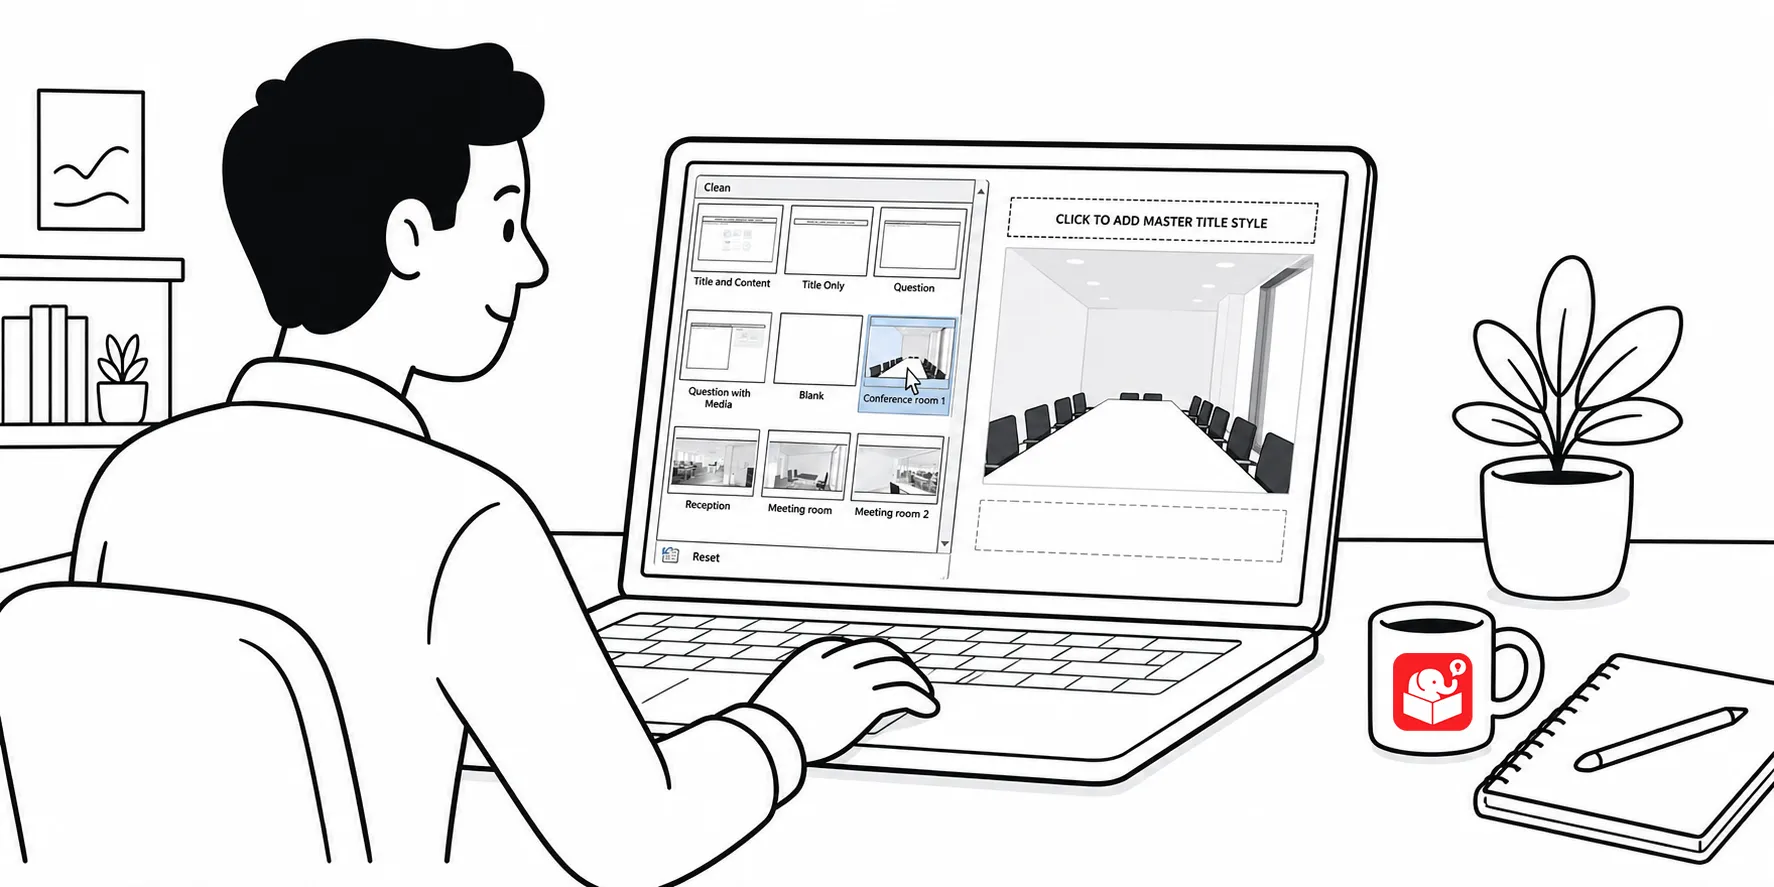
There’s a lot that goes into building interactive scenarios. Obviously content is king and critical to building a branched scenario that is both engaging and effective. One key part of the scenario construction is establishing context. The good thing is that a single image often suffices to establish the scenario context.
The free stock images I shared recently are perfect for building interactive scenarios and establishing visual context.
I’ve had a few questions on how to set up the slides using the scenario images, so I’ll show a couple of easy ways to use them.
There are two ways to handle scenario backgrounds in Storyline that cut this overhead. One works from the master slide, the other from individual slides using image states. Both are worth knowing, and you can combine them.
The master slide approach is the more systematic option. You create a layout for each background image, then save the file as a template. Every new scenario project starts from that template with all your backgrounds already in place.
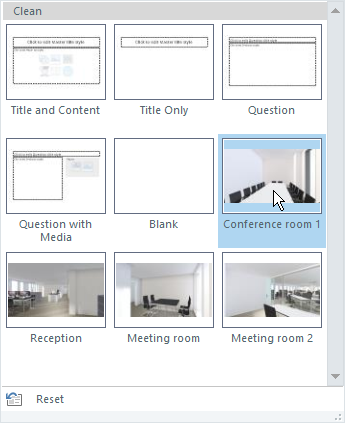
When you’re ready to create a new slide, you select the layout and the background is already there. No searching, no inserting, no digging through folders. You can build as many layouts as you need into a single master.
The main advantage is consistency. The background lives in the layout, so it applies to every slide using that layout. Change it once and it updates across the whole file.
Watch the tutorial to learn more.
The second approach uses states. You insert a background image on the slide and create additional states for it, each showing a different environment.
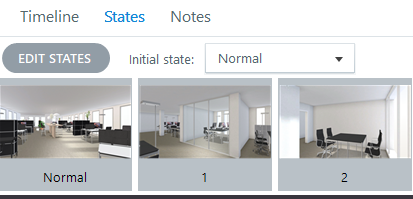
This gives you more flexibility than the master slide approach. You can use triggers to switch the background in response to what a learner does. A single slide can show an office, a warehouse, or a break room depending on the path taken.
The tradeoff is slightly more setup per slide. But when your scenario needs the background to respond to learner choices, this is the right tool.
Watch the tutorial to learn more.
Neither method is better in every situation. The master slide approach is faster to reuse across projects. Image states give you more control over what happens on a specific slide.
There’s also a third option worth knowing. You can put image states inside master slide layouts. This gives you fewer layouts while still letting you swap backgrounds with triggers. It combines the reusability of the first method with the flexibility of the second.
The goal with any of these approaches is less time in setup and more time on the scenario itself. Build a template once, save it, and you won’t have to think about backgrounds again for future projects.
These setup strategies matter more as your scenario projects get more complex. A template built now becomes the foundation for every scenario you create going forward. Build it once, share it through Storyline 360’s team slides feature, and everyone starts with the same foundation.