Physical Address
304 North Cardinal St.
Dorchester Center, MA 02124
Physical Address
304 North Cardinal St.
Dorchester Center, MA 02124
Helpful ideas. Squeaky value.
Helpful ideas. Squeaky value.
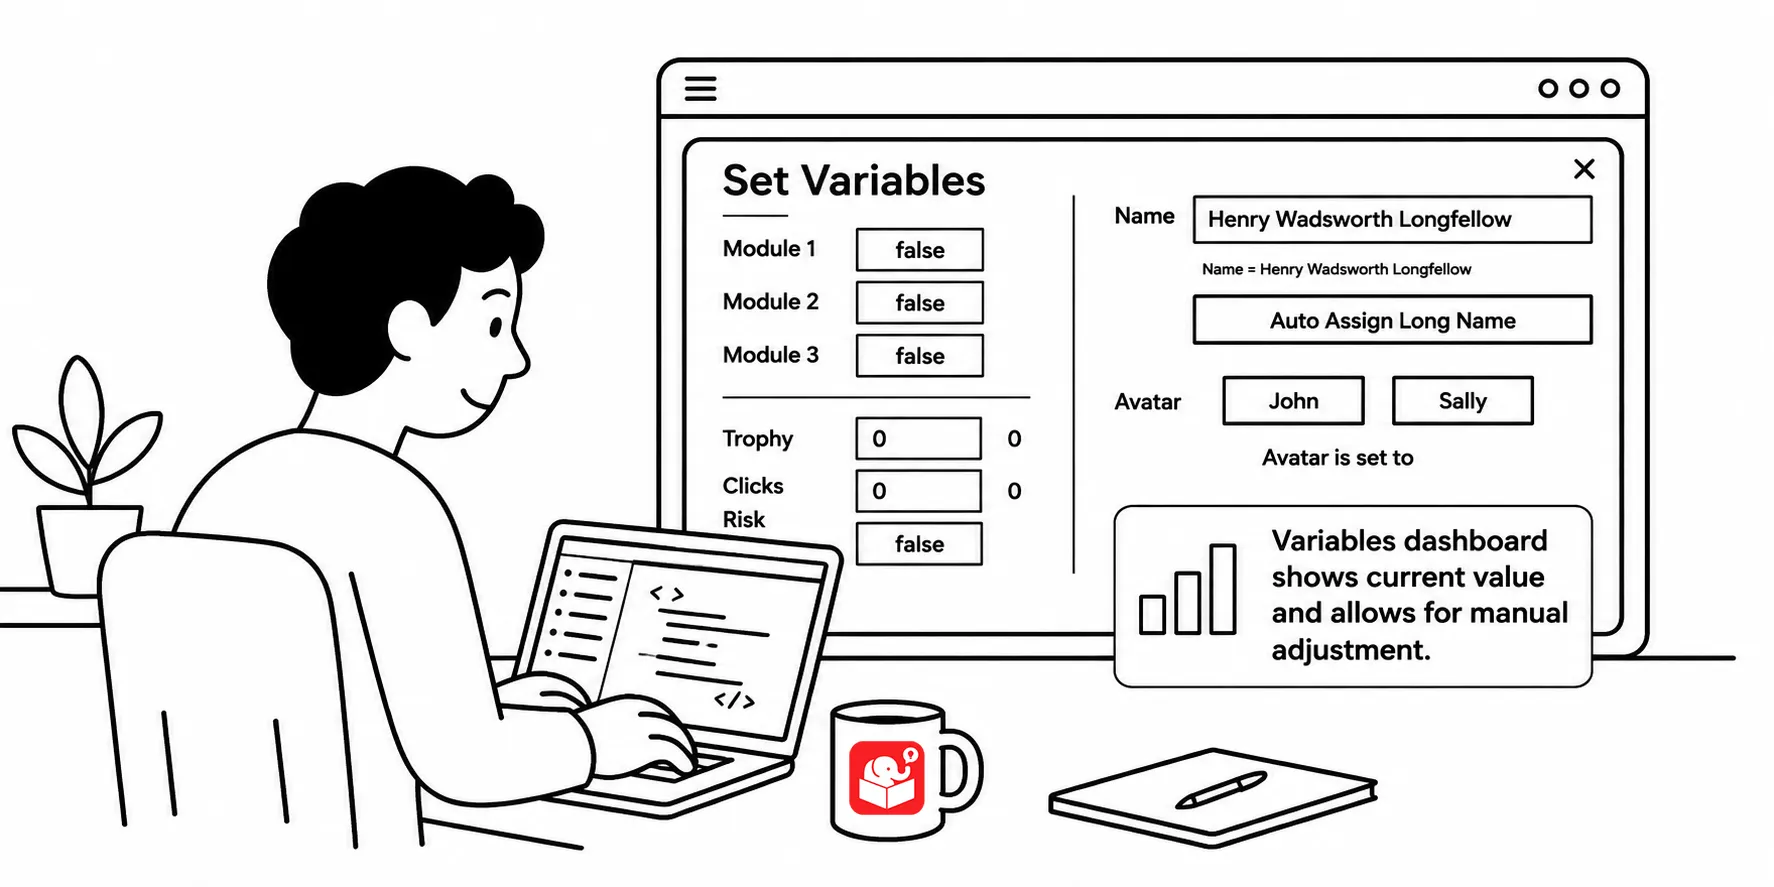
You finish wiring up a course with many variables and then realize you have to test slide 20. That means clicking through every screen just to get there. A variables dashboard makes that problem disappear.
Let’s look at how to set that up.
Working with variables is a three-step process.
The challenge with testing a course and reviewing it is getting the variables to the right value first. Without a dashboard, you have to go through all the steps in the course manually. That gets old fast when you have a dozen variables in a single course.
A dashboard where you can change them quickly for testing works really well.
A variables dashboard is a lightbox slide you attach to the player. It’s available anywhere in the course while you’re testing. From it, you can manually flip variables to true or false, enter text values, and adjust number counts.
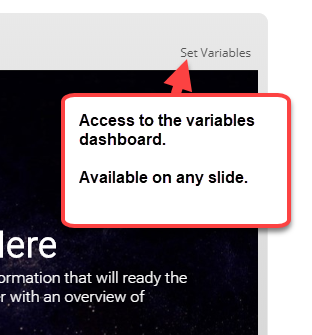
Think of it as a cheat panel for testing. You set the variables to whatever state you need, then jump to the slide you want to test. No more clicking through twenty screens just to trigger one condition.
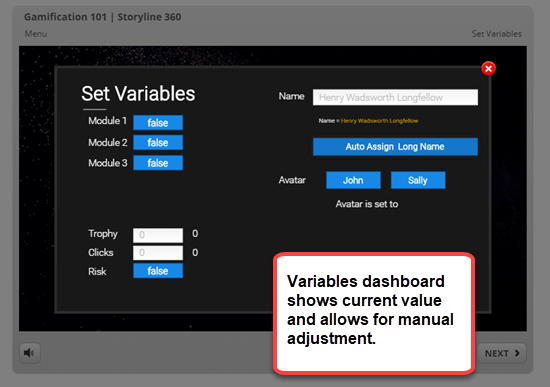
Building the dashboard takes a bit of setup, but it pays off quickly on any complex course. The slide needs controls for every variable type you’re tracking. Once it’s built, you attach it to the player as a lightbox and it’s accessible from anywhere.
Here’s the setup:
The controls you build should match the types of variables in your course. The more variables your course has, the more time this setup saves.
Here’s an example where you can set variables and test them on slide without going through the entire course.
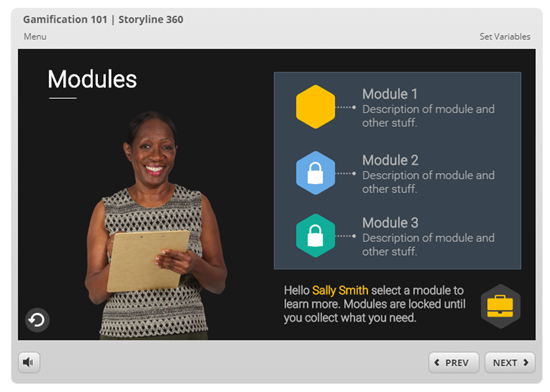
If you want to see how it was built, watch this tutorial.
Adding a text reference to show a variable’s current value is a solid testing habit. But text references are read-only. A variables dashboard lets you read and write. You can see current values and change them without touching the trigger panel or starting at slide one and going through the entire interaction.
For courses with interdependent variables, that matters. You might need one variable true and another false at the same time to test a specific branch. Getting there manually could take ten minutes. With a dashboard, it takes seconds.
Watch the tutorial to see a full walkthrough of a variables dashboard built for a gamification course. You can also test a live demo to see the set-variables panel in action.
The variables dashboard points toward a broader habit. Build courses that are easy to test, not just easy to publish. As projects get more complex, having a systematic way to control variable states saves hours of debugging. Consider building a reusable dashboard template you can drop into any new Storyline project from the start.