Physical Address
304 North Cardinal St.
Dorchester Center, MA 02124
Physical Address
304 North Cardinal St.
Dorchester Center, MA 02124
Helpful ideas. Squeaky value.
Helpful ideas. Squeaky value.
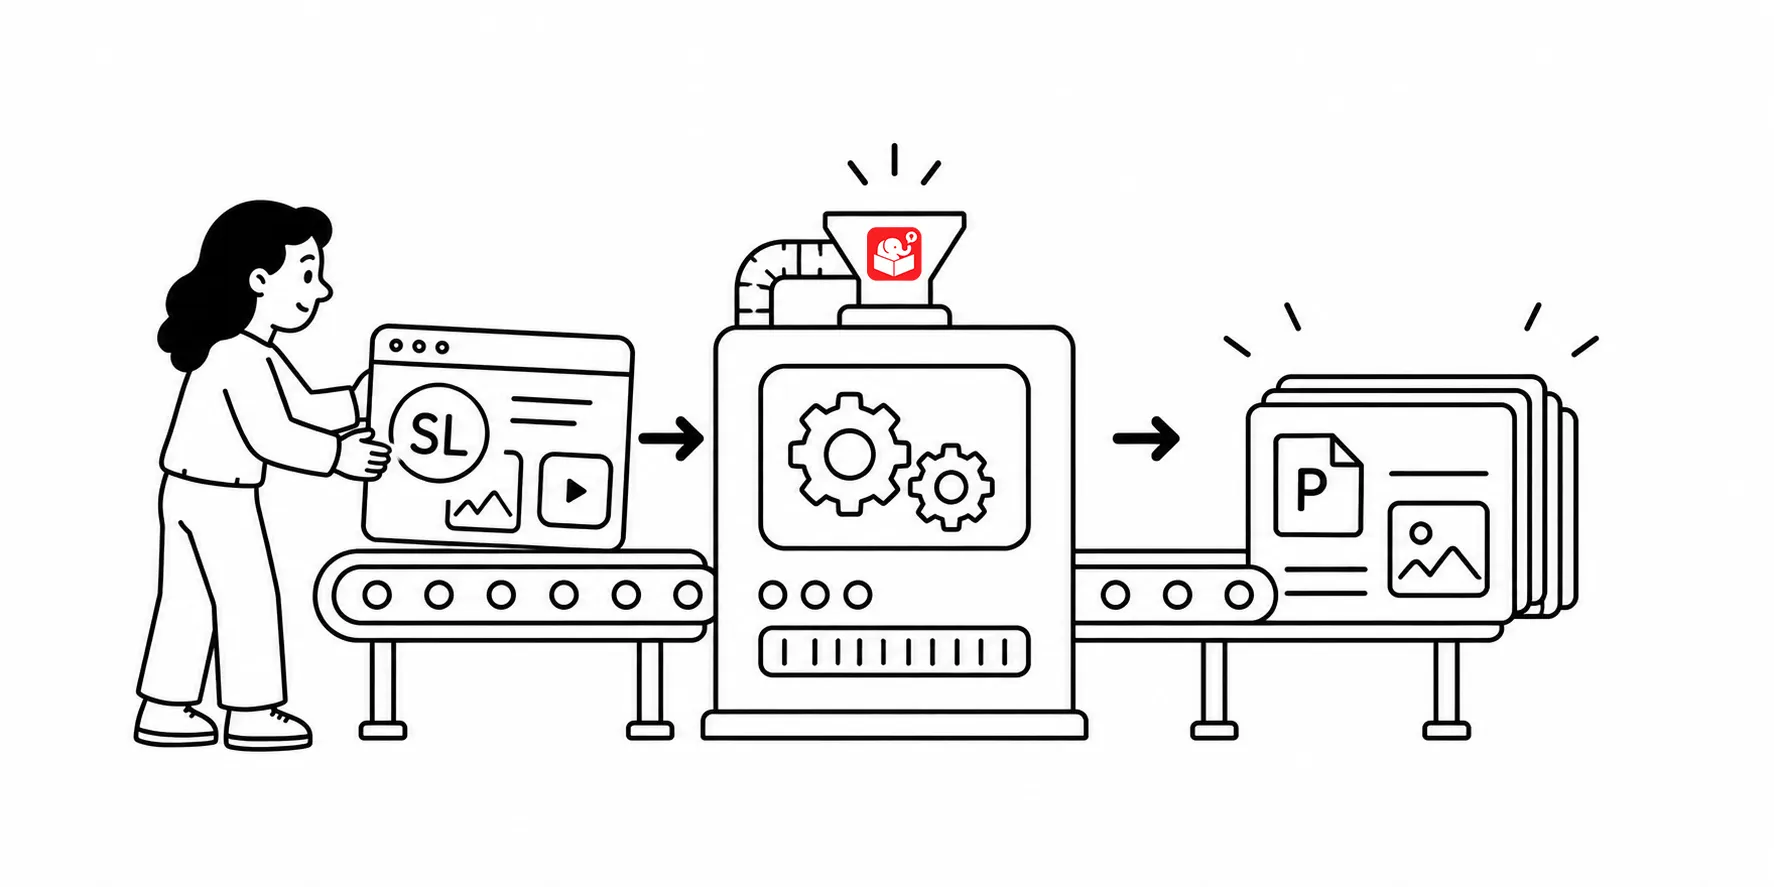
Here’s a question I see on occasion in the community: How do I convert my Storyline course to PowerPoint?
It’s a fair question and one that is complicated because you can import PowerPoint slides into Storyline and Storyline often is described as “PowerPoint on steroids.” So on the sruface it seems they should be backwards compatible.
First, here’s why this request comes up. After building the course, someone wants a PowerPoint version so they can use it in a classroom.
The good news is there are two practical ways to make this work. And if that’s not enough, here are two other ways. It just depends on what you want to do.
Storyline and PowerPoint are made by two different companies. PowerPoint is designed for linear presentations. Storyline is built for interactive e-learning, with states, triggers, drag-and-drop interactions, and variables.
On the surface, the look similar because it’s a common design UX, but they are two completely different tools from different companies. That means from Storyline to PowerPoint isn’t a clean or practical conversion.
If you know you’ll need a PowerPoint version, the cleanest approach is to build the base content in PowerPoint first.
Get sign-off on the content while it’s still in PowerPoint slides because once it’s imported into Storyline it is no longer PowerPoint. The written and visual content should be identical in both formats at this stage. Then import the approved PowerPoint into Storyline and build out your interactive elements. Publish and you end up with both versions.
This approach requires planning upfront, and it only works if you communicate the process clearly. Tell the client early that content edits after sign-off are out of scope. That conversation is easier to have before any work begins.
If the Storyline course is already done and you need a PowerPoint version, publish the course to Word. Select the option to include layers and large images. This creates a Word document with every slide and layer captured as visible content.
Open the .doc file and save it as .docx. Then unzip the .docx file using a free tool like 7-Zip and extract the images folder. Insert those images into a new PowerPoint using the Photo Album feature. From there, you can make simple edits, add text, or export as a PDF.
The best time to think about a PowerPoint version is before you open Storyline. A few minutes of upfront planning can save hours of export work later. The Word-to-DOCX-to-image method is a solid fallback when the conversation happens too late. Next time a client asks for both formats, you’ll know exactly which path to take.