Physical Address
304 North Cardinal St.
Dorchester Center, MA 02124
Physical Address
304 North Cardinal St.
Dorchester Center, MA 02124
Helpful ideas. Squeaky value.
Helpful ideas. Squeaky value.
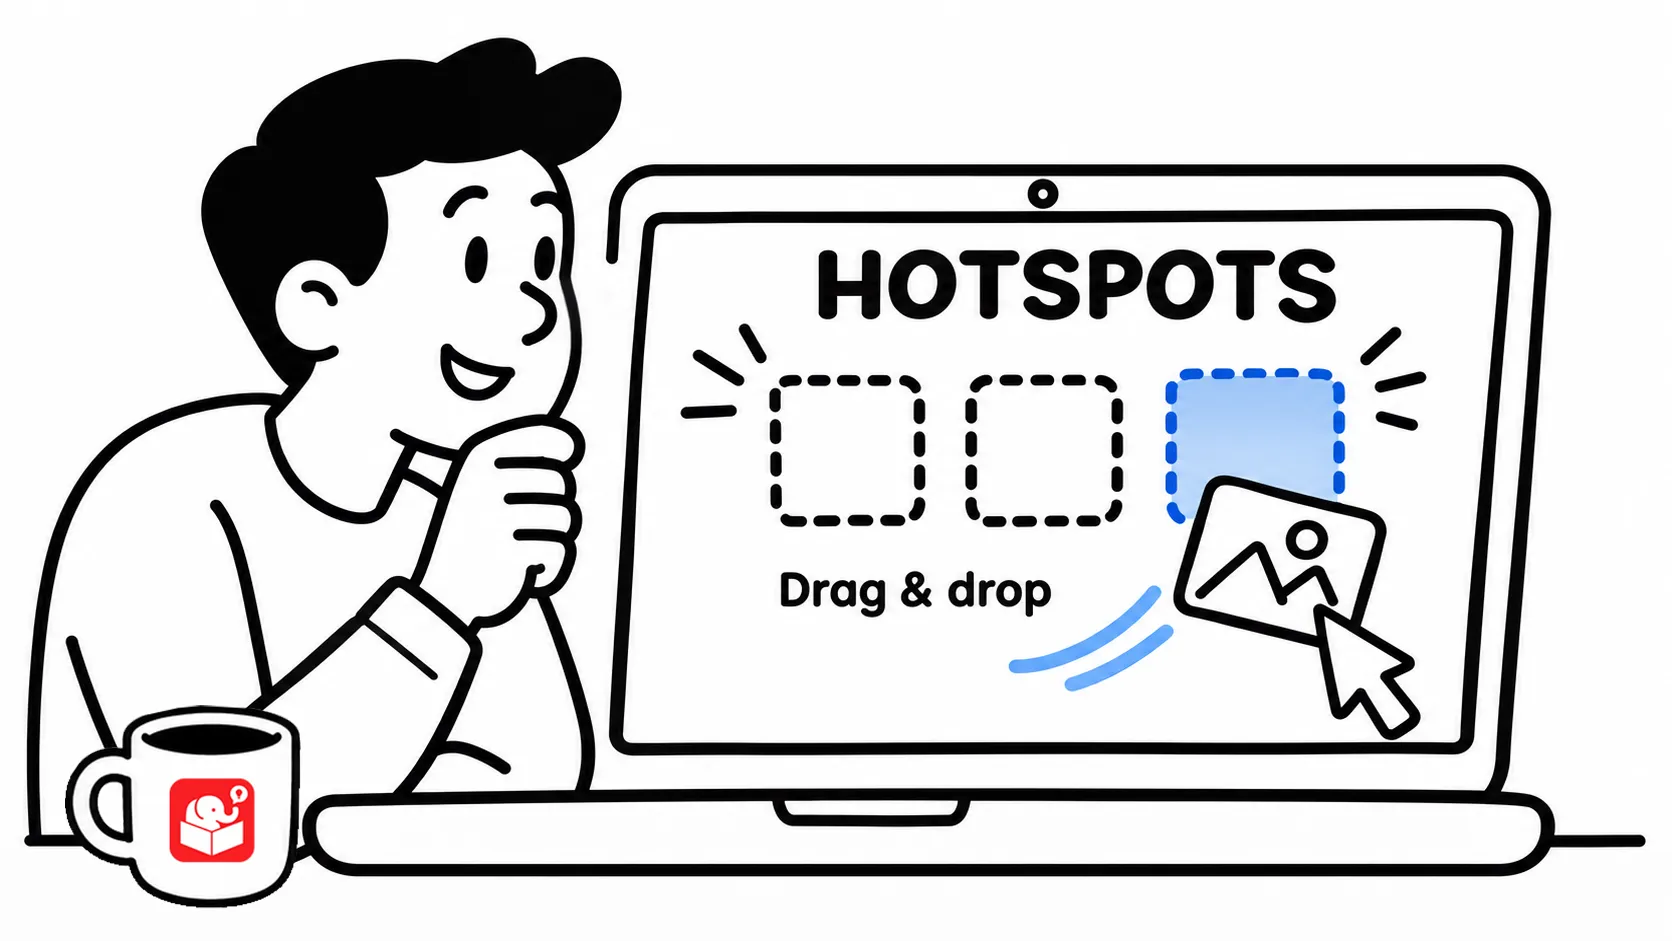
In an earlier post, we looked at three ways to use hotspots in your e-learning courses. In most cases, hotspots are used as invisible buttons for interactive e-learning. But today, we’ll look at the hotspot in a different way.
You spend time designing a drag and drop interaction, and a learner drops the object in the wrong place. It just snaps back to the start with no feedback. Hotspots can fix that problem and also give you better control over where dropped objects land.
In a standard drag and drop interaction, you have two components.
That works fine for simple interactions, but complex designs need more.
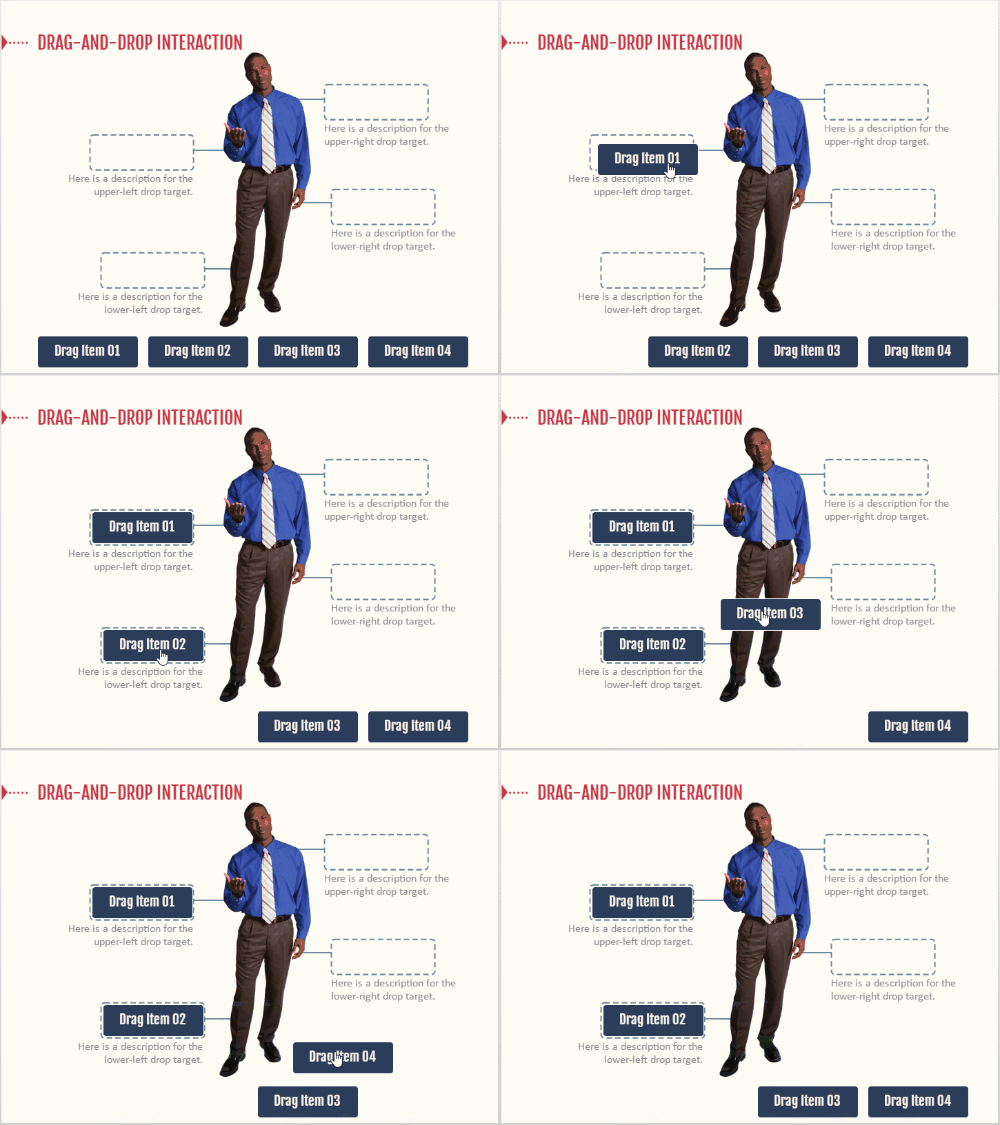
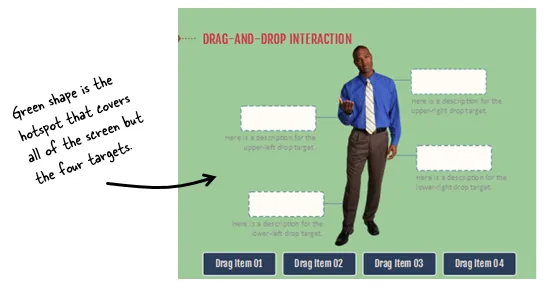
When a learner drops an object outside all valid targets, what happens? Usually it just bounces back with no guidance, as we see in the image below. However, a catch-all hotspot changes that.
Place a hotspot that covers the entire screen underneath all your regular drop targets. When a learner drops an object outside the valid targets, the catch-all hotspot registers the drop and triggers feedback. That’s where you show an “oops, try again” layer or any message you choose.
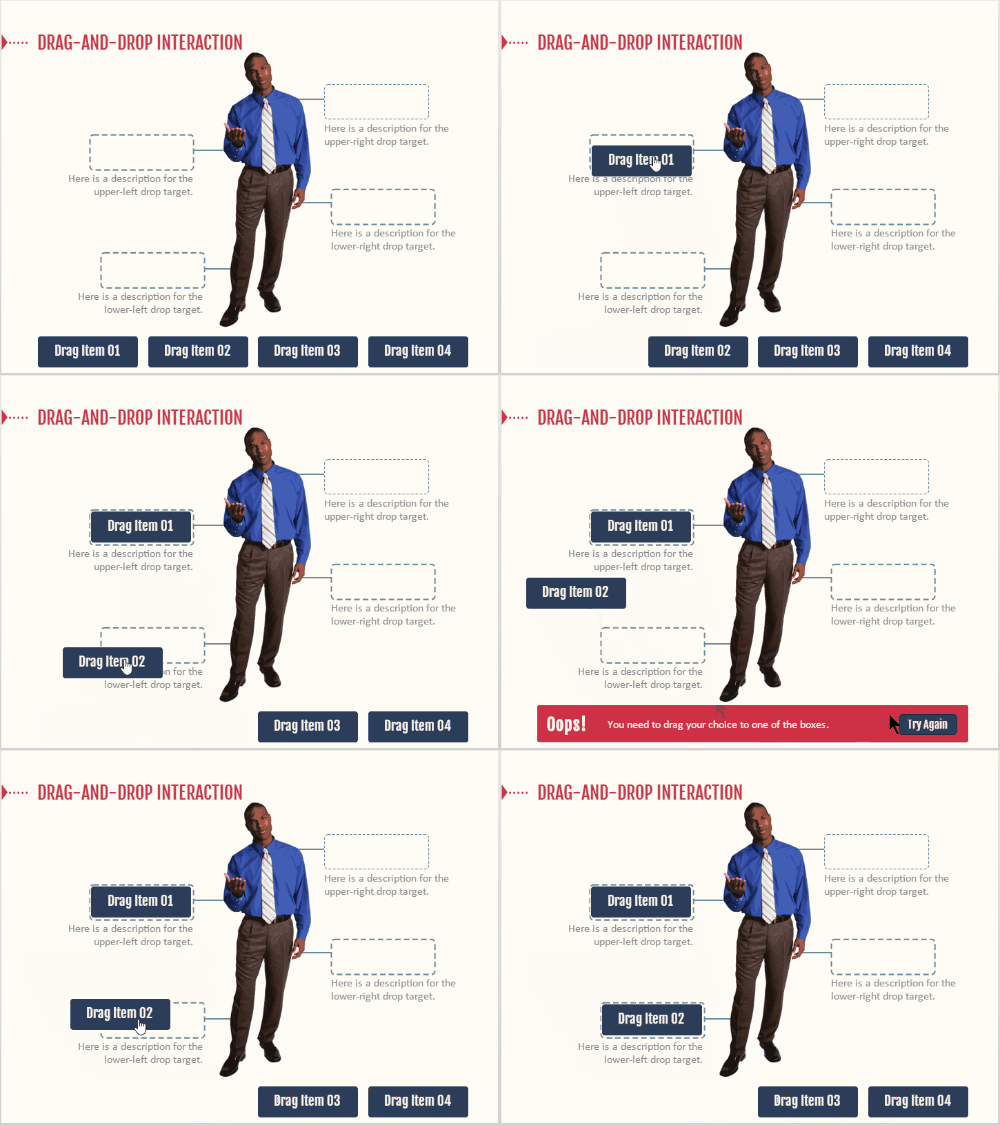
Two things matter when setting this up:
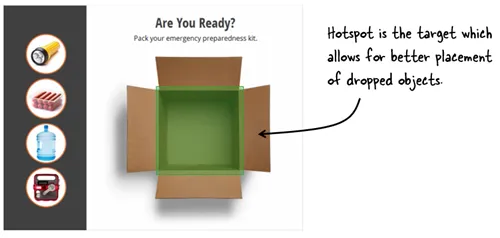
The second technique is about precision. A hotspot is transparent, so you can place it on top of any object. Use it as the drop target instead of the object underneath. This gives you control over exactly where dropped items land.
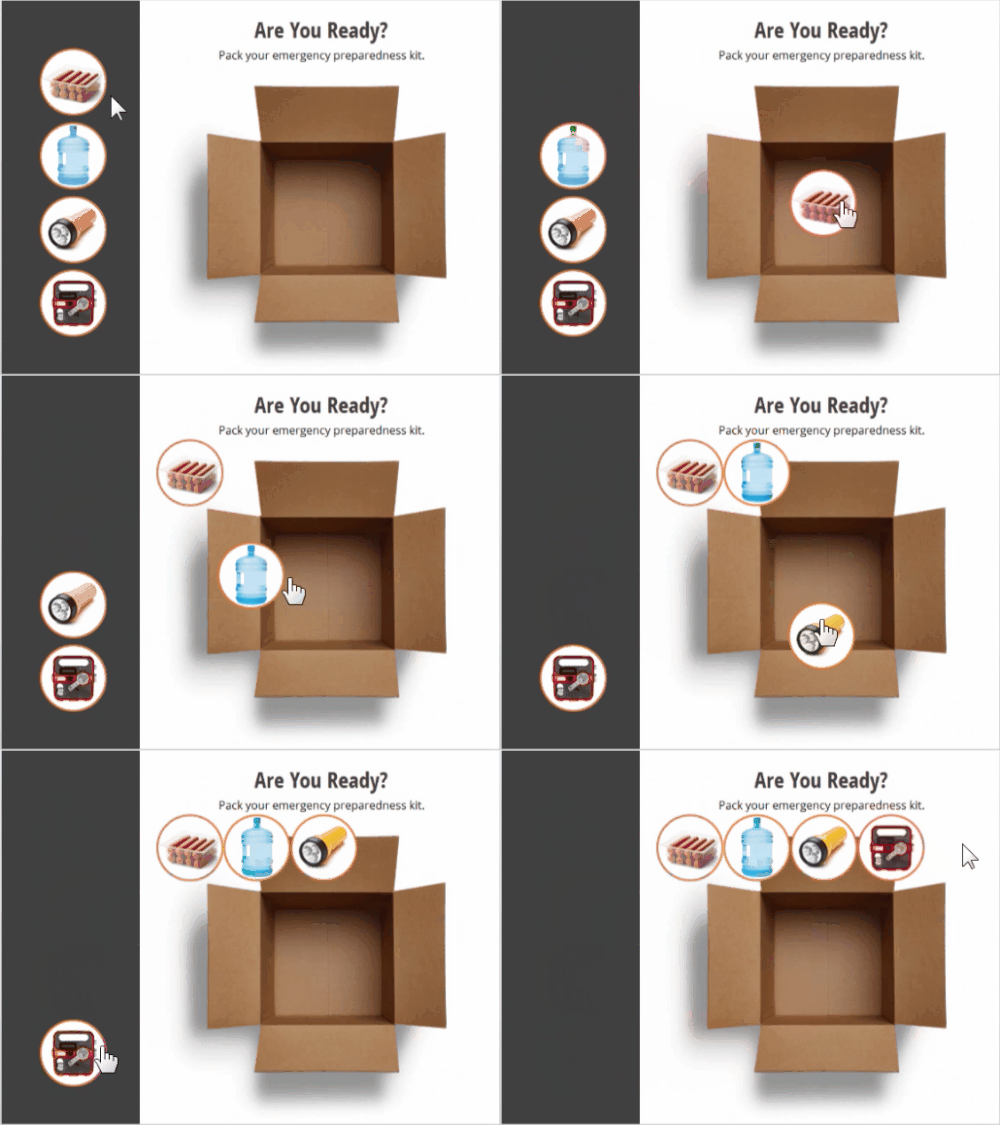
Here’s the problem it solves. When you use an image as the drop target, objects align to the image boundaries. That may not match what you see on screen. Place a hotspot over the landing zone you want to use. Dropped objects will align to the hotspot instead.
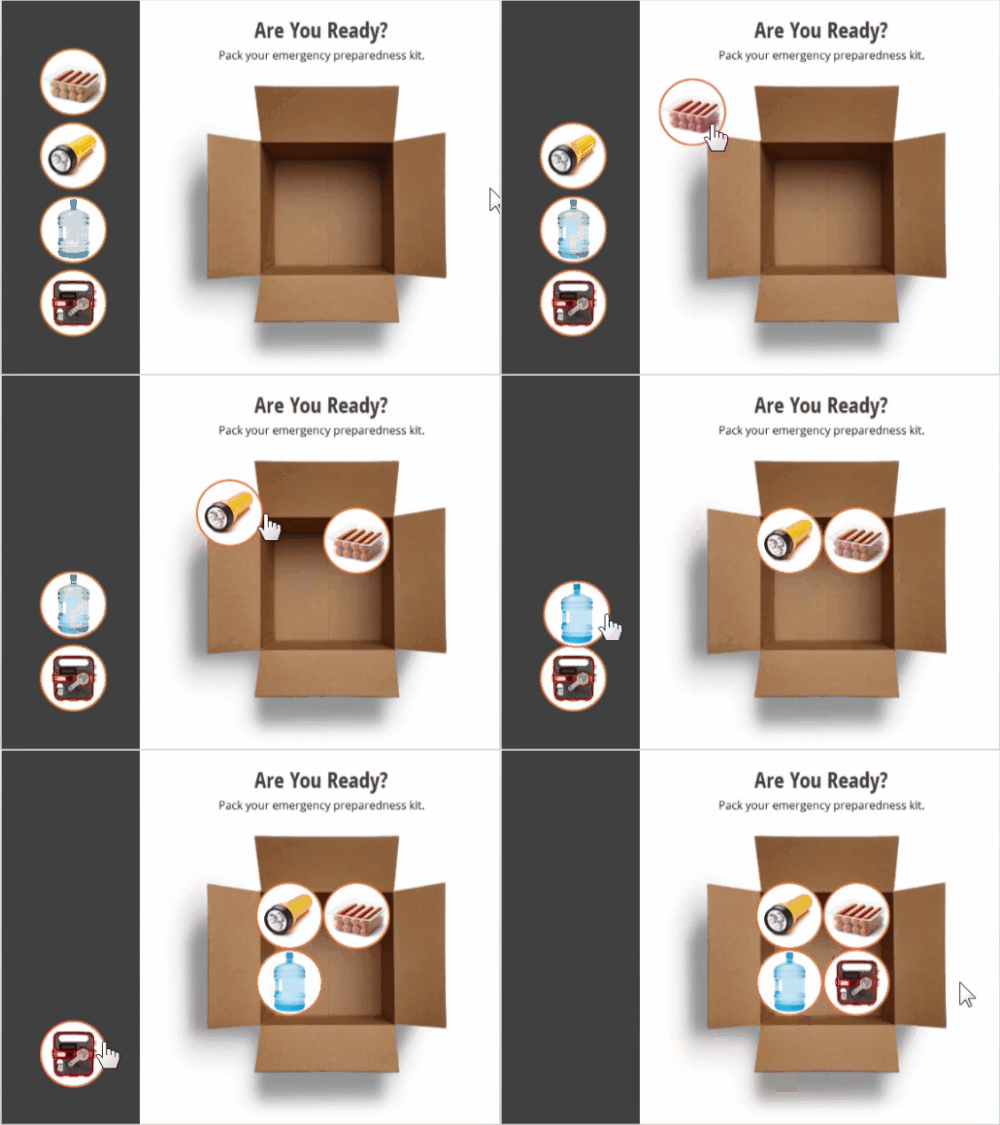
This makes it possible to drop objects inside an open box rather than on top of it. You’re not changing the visual design, just redirecting where the interaction registers.
The catch-all technique and the drop target overlay are just two examples of what hotspots can do. They go far beyond invisible buttons. Once you start thinking of hotspots as flexible tools, new solutions show up. Try both techniques in your next drag and drop project.