Physical Address
304 North Cardinal St.
Dorchester Center, MA 02124
Physical Address
304 North Cardinal St.
Dorchester Center, MA 02124
Helpful ideas. Squeaky value.
Helpful ideas. Squeaky value.
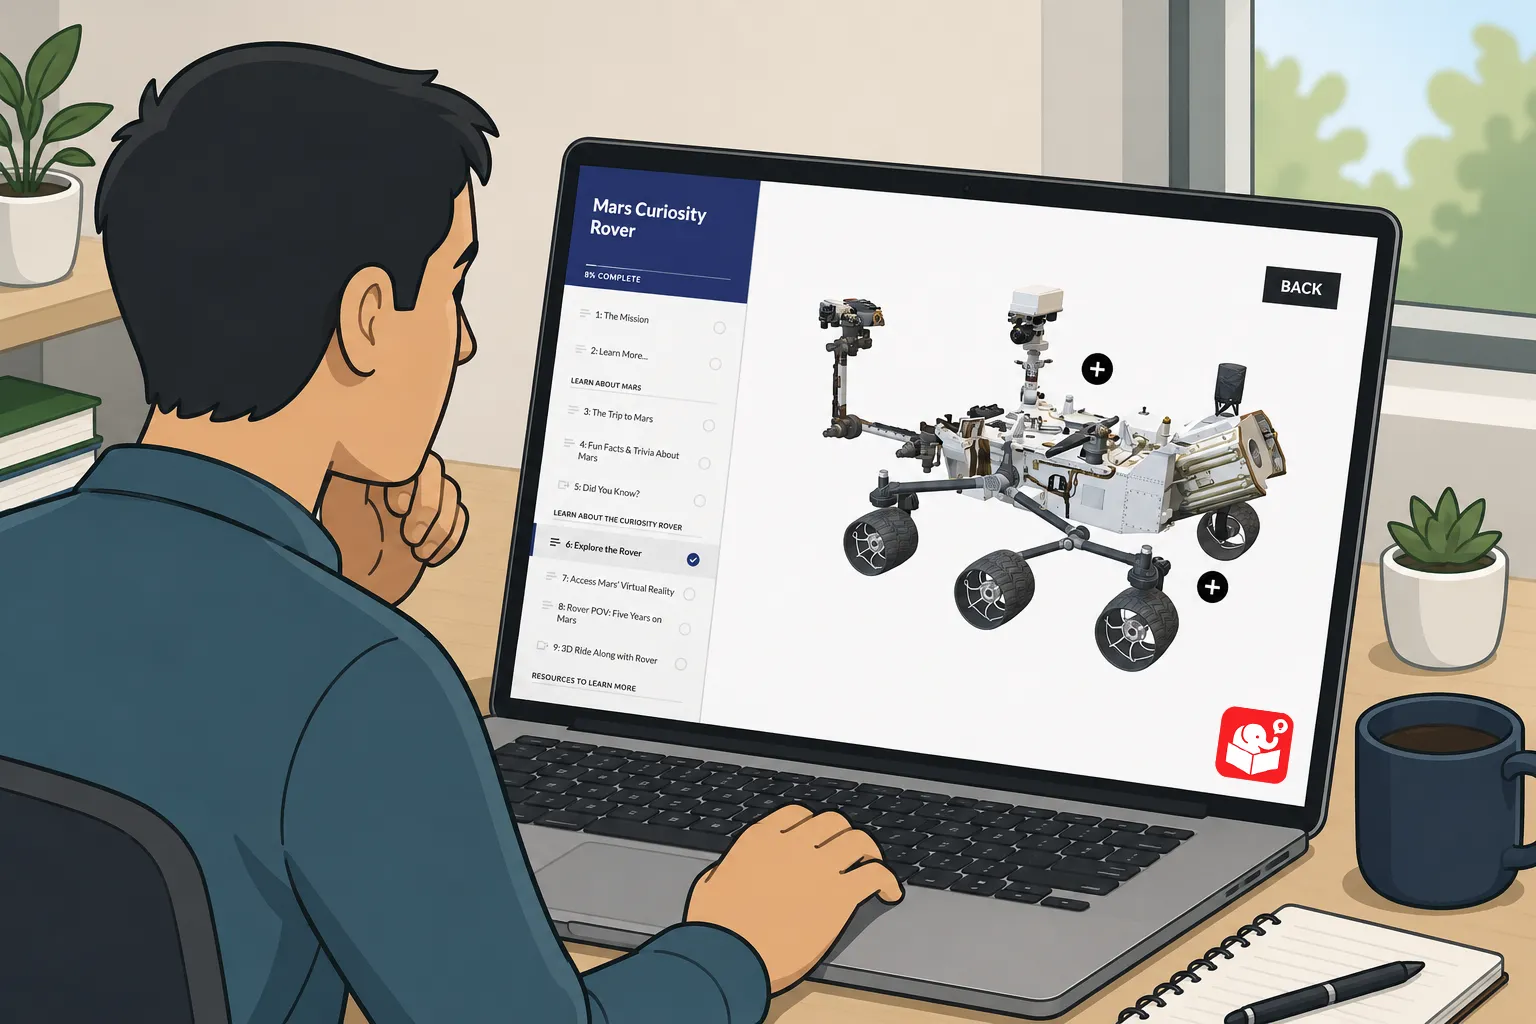
A learner clicks a tab. A 3D object spins into view, holds for a moment, then rotates back out as the layer closes. Building that experience takes the video from the previous post and a few Storyline triggers.
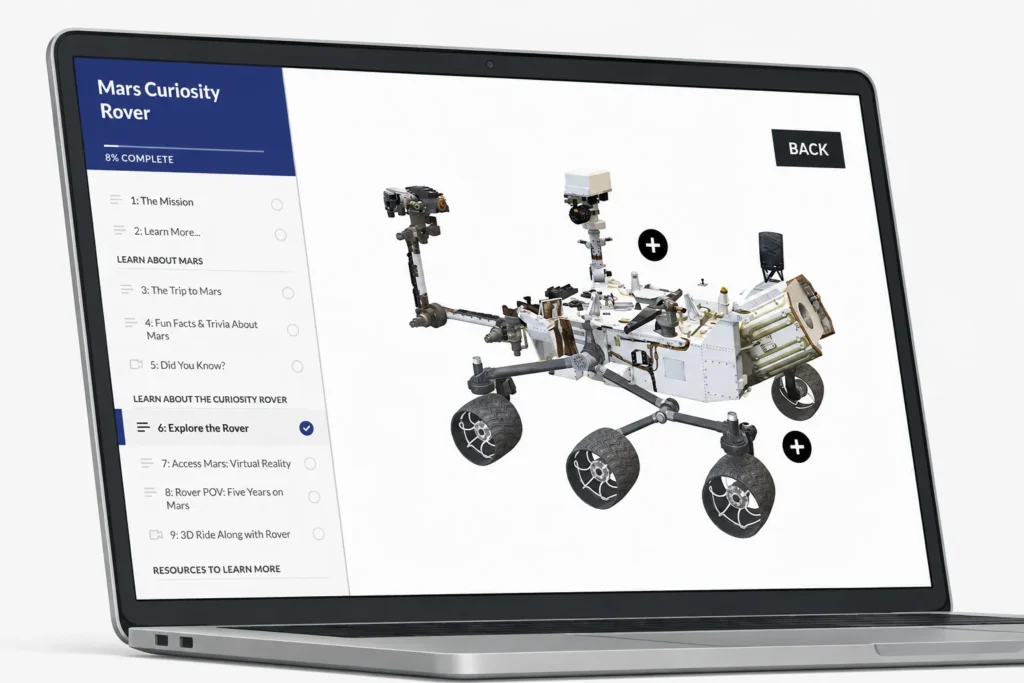
See the Rise course using the 3D Storyline block
Before building anything, it helps to trace what the learner actually does. Understanding the flow makes each step in Storyline clearer.
The learner sees a base slide with a set of side tabs. They click a tab, and a layer appears. That layer plays a video where a 3D object rotates in, then pauses at the apex. The learner clicks a button to continue, the object rotates out, and the layer closes. The base slide returns, ready for the next tab.
The video needs to be ready before you start in Storyline. If you haven’t built it yet, the PowerPoint 3D model video tutorial in the previous post covers that process from start to finish.
One thing to know about the video: it plays all the way through, with the object rotating in and then rotating back out in the same clip. The pause happens at the apex, where the object is fully visible. That pause point drives the trigger logic in Storyline.
The Storyline file and the PowerPoint file should share the same aspect ratio. Most courses use 16:9, which works fine here. If you’ve changed your Storyline slide dimensions, match them in PowerPoint before exporting anything.
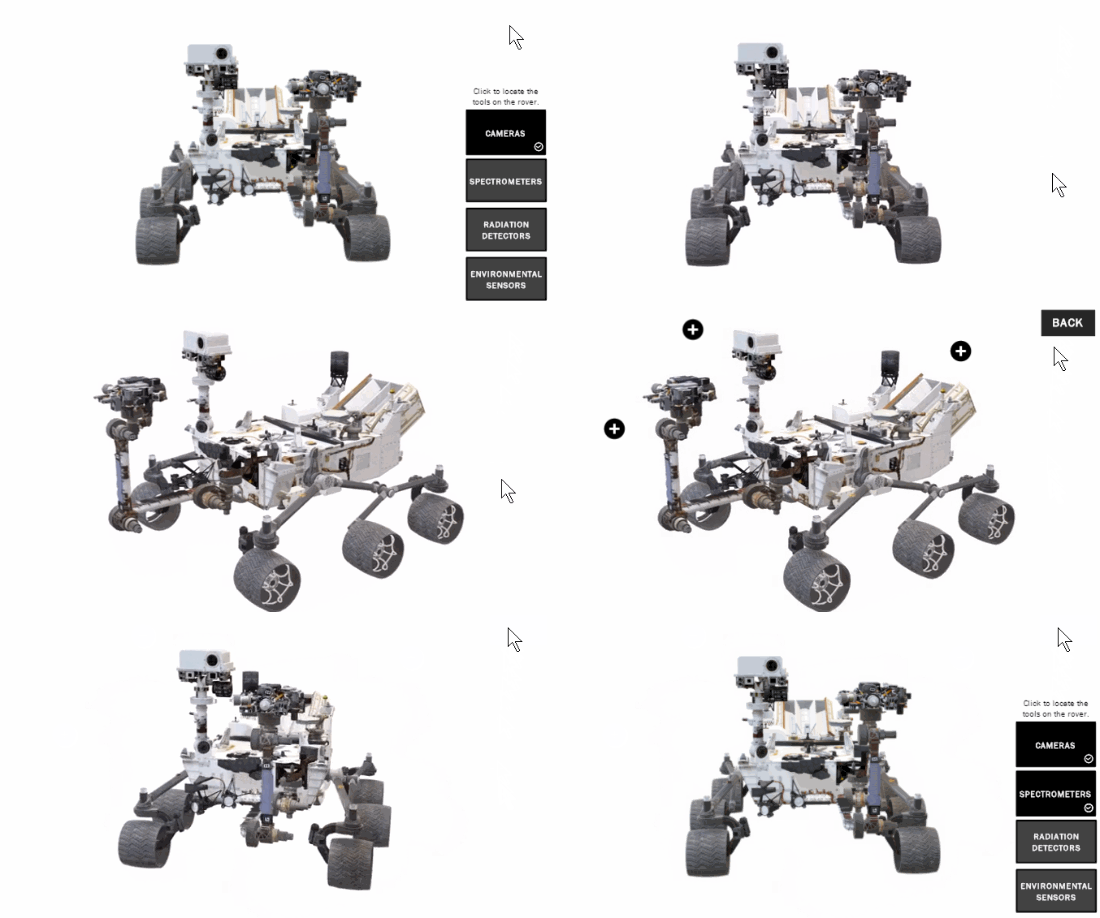
Go to slide 1 in PowerPoint and save it as a PNG image. This image becomes the base slide background in Storyline and aligns cleanly with the video content on each layer. Insert the PNG into your Storyline slide, then create one layer for each interactive element you want in the course.
On each layer, insert the appropriate video and set it to play automatically. Place a hotspot over the video so learners can’t accidentally pause it with a click. The video runs until it reaches the trigger point.
Adding cue points is the cleanest way to control the pause. Set a cue point at the moment the 3D object is fully rotated in. Then add a trigger to pause the video when the timeline reaches that cue point. Using a cue point instead of a fixed time value means you can adjust the pause without rewriting the trigger.
Add a button or hotspot that resumes the video when clicked. When the media finishes playing, a final trigger hides the layer. That returns the learner to the base slide, ready to explore the next tab.
Once you understand this pattern, you can apply it to other video-based interactions throughout a course. The cue point and layer approach works with any video that has a natural pause point. The same logic holds whether you use 3D models or standard footage. Try building one tab interaction first, get the triggers working cleanly, and then scale to the full slide. What other types of content could benefit from a pause-and-reveal pattern like this?