Physical Address
304 North Cardinal St.
Dorchester Center, MA 02124
Physical Address
304 North Cardinal St.
Dorchester Center, MA 02124
Helpful ideas. Squeaky value.
Helpful ideas. Squeaky value.
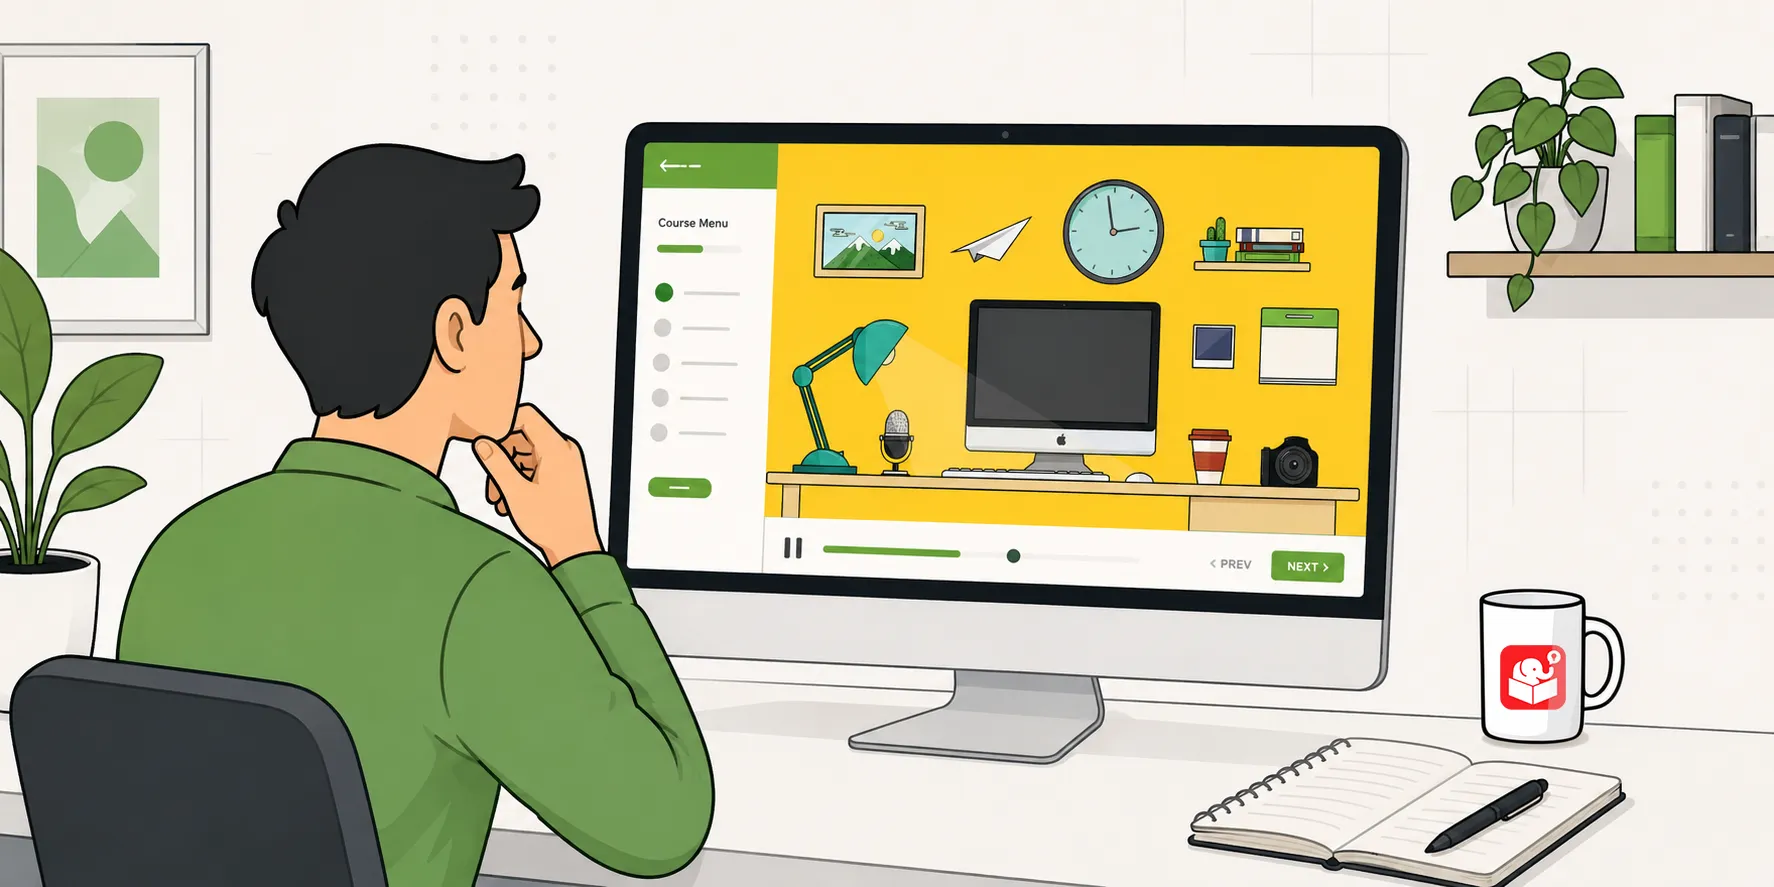
A while back, I came across a free desktop workspace image by Anastasia Kolisnichenko. I liked the clean flat design. It also has multiple distinct areas: a computer, bookshelf, calendar, microphone, picture frame. I looked at it and thought, that’s basically a course waiting to happen. One image. Five content buckets. No custom graphics needed.
That’s the technique I want to show you here. It’s straightforward, it works in Storyline 360, and it’s a good way to move past click-and-read content without a ton of production overhead. Great for exploration activities or a way for learners to collect information rather than read bullet points.
The core idea is simple. You start with a single image that has multiple distinct sections. You zoom into each section to reveal additional content. The learner explores. You don’t have to build a complex branching structure or hire anyone.

Here’s a working example of the interaction so you can see where this is going before we get into the how.
Not every image works for this. You need one with clear, separated areas that can each hold content on their own.
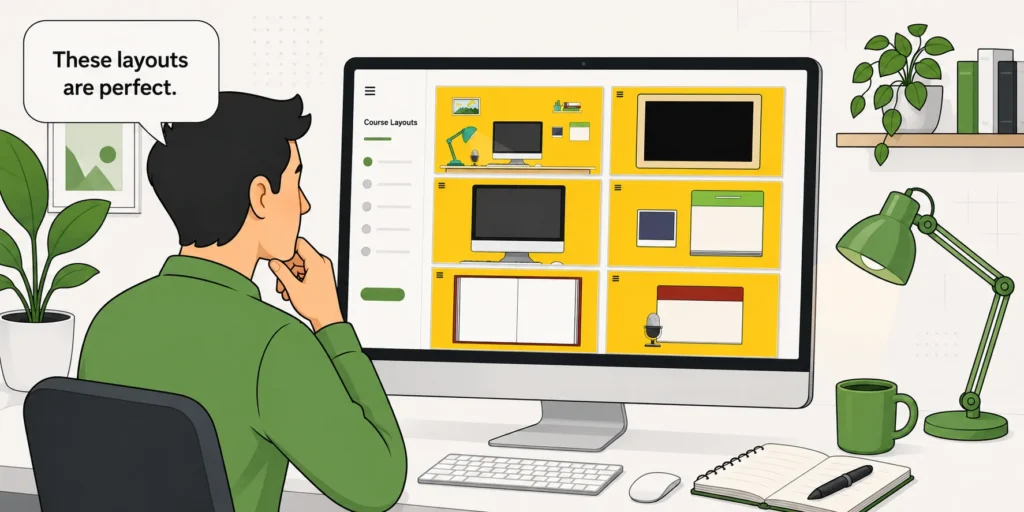
The free desktop image is a good model to follow. Each object in the scene — the computer, the bookshelf, the calendar — is distinct and easy to isolate. Other image types that work well: collage-style layouts, comic book panel arrangements, or illustrated environments like an office or a kitchen.
This section covers the production steps. The video tutorial included in this post walks through each one in Storyline 360. But here are the essential points.
Start by placing the full image on a base slide. Then create a separate slide for each content area you want to zoom into. In the desktop example, that means individual slides for the computer, picture frame, bookshelf, microphone, and calendar.
On the base slide, place a hotspot over each clickable area. Link each hotspot to its corresponding content slide. On each content slide, add a button or trigger to send the learner back to the base.
This is where Storyline 360 earns its keep. Use the zoom region feature to create a smooth zoom in from the base image to the selected area. It makes the transition feel intentional, not jarring. Pair it with a trigger to pause the timeline so the learner controls the pace.
Once the zoom is in place, layer your content onto each slide. Keep it focused. Each slide is a content bucket, so treat it like one: one idea, one chunk of supporting material, done.
A few things to keep in mind before you publish: the zoom region works smoothly in Storyline 360. You’ll also want to make sure hotspot areas are large enough to tap on a touchscreen. Small targets frustrate learners on mobile.
Everything you need to get started is linked here.
Try this with an image you already have. A diagram, an illustrated process map, a workplace photo with distinct areas — any of these can work. Build the base slide first, then add one content bucket at a time. Watch the zoom region tutorial before you start; it’ll save you some trial and error. And give credit to Anastasia if you use the free desktop image. She made something useful and shared it freely, which is worth acknowledging.